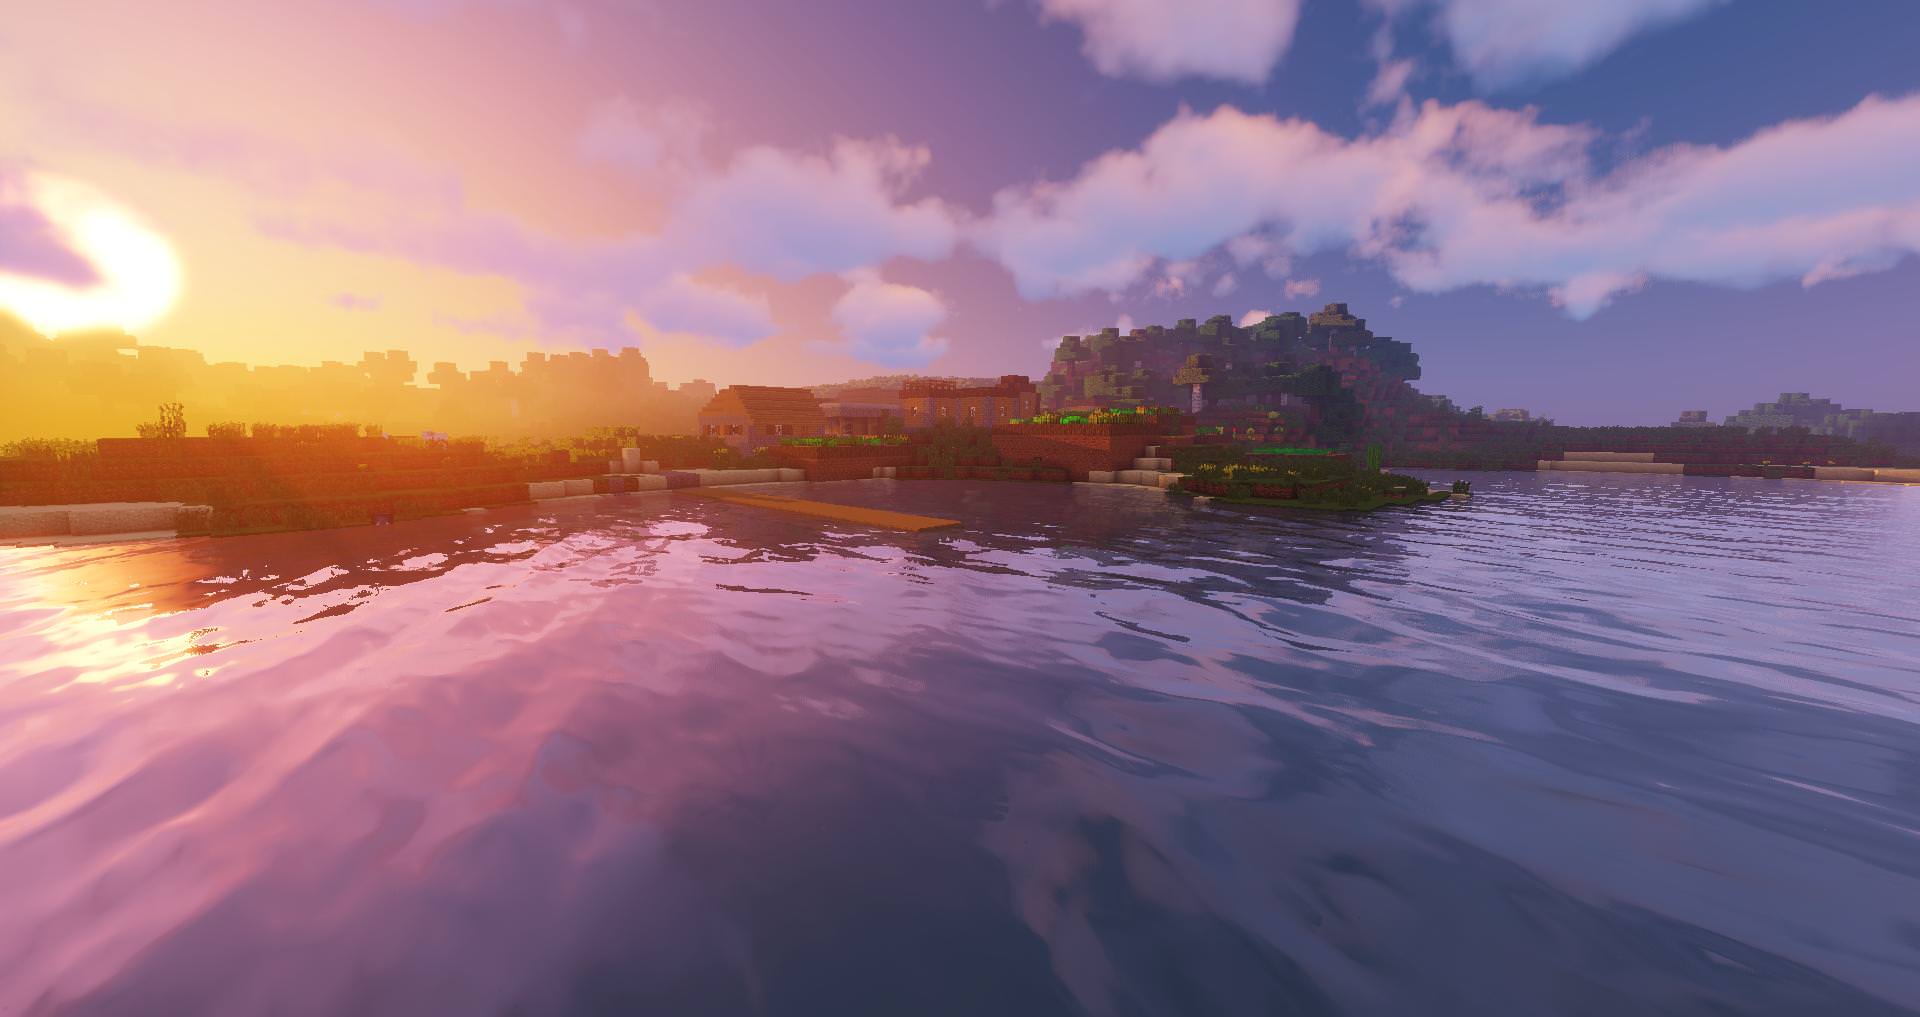
The easiest way to install a shaderpack for Minecraft is to do it with Optifine. Follow the next steps to install a shader on Minecraft.
Before following the tutorial below, make sure that you have already downloaded and installed Optifine but also that you have downloaded your Minecraft Shader.
This guide works for Minecraft versions: 1.7, 1.8, 1.9, 1.10, 1.11, 1.12, 1.13, 1.14, 1.15 and 1.16.
To install a minecraft shader you will need to download and install Optifine, download a shader, open the folder related to shaders in the Minecraft data then drag and drop the file previously downloaded here. Once done, select the shader in the in-game menu.
Install a Minecraft shaders :
Total Time: 3 minutes
Open your .minecraft folder
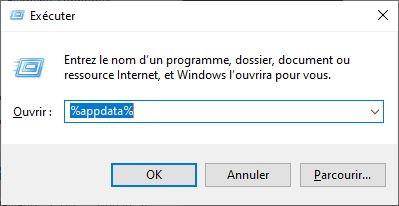
Windows: Press the Windows and R keys simultaneously and type %appdata%.
Mac OS : Press SHIFT + COMMAND + G keys simultaneously.
then type /Users/YOUR USER/YOUR USER/library/Application Support/Minecraft
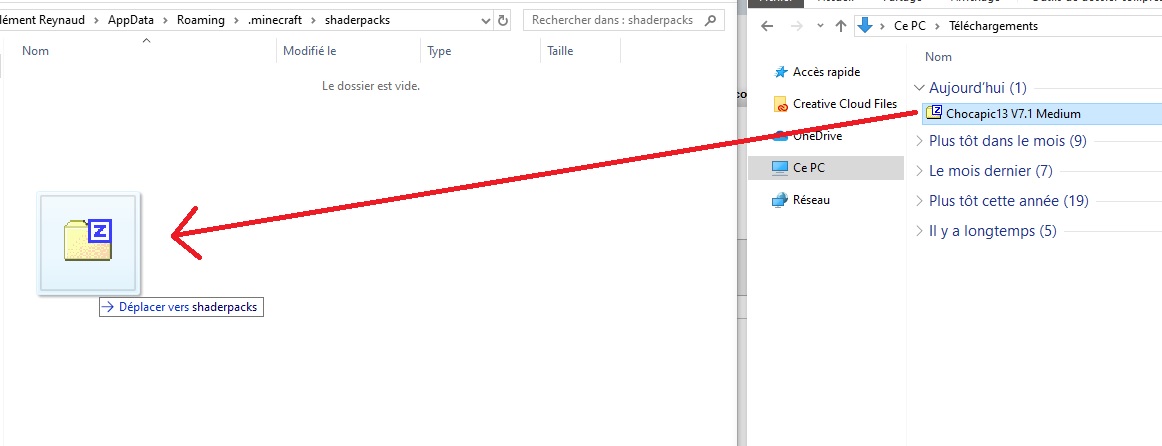
Find and open the .shaderpacks folder
It is located at the root of the .minecraft folder if you have installed Optifine beforehand. If you can’t find it, check your installation of Optifine.
Drag and drop the previously downloaded archive
The shader archive is usually in .zip format, move it to the .shaderpacks folder.
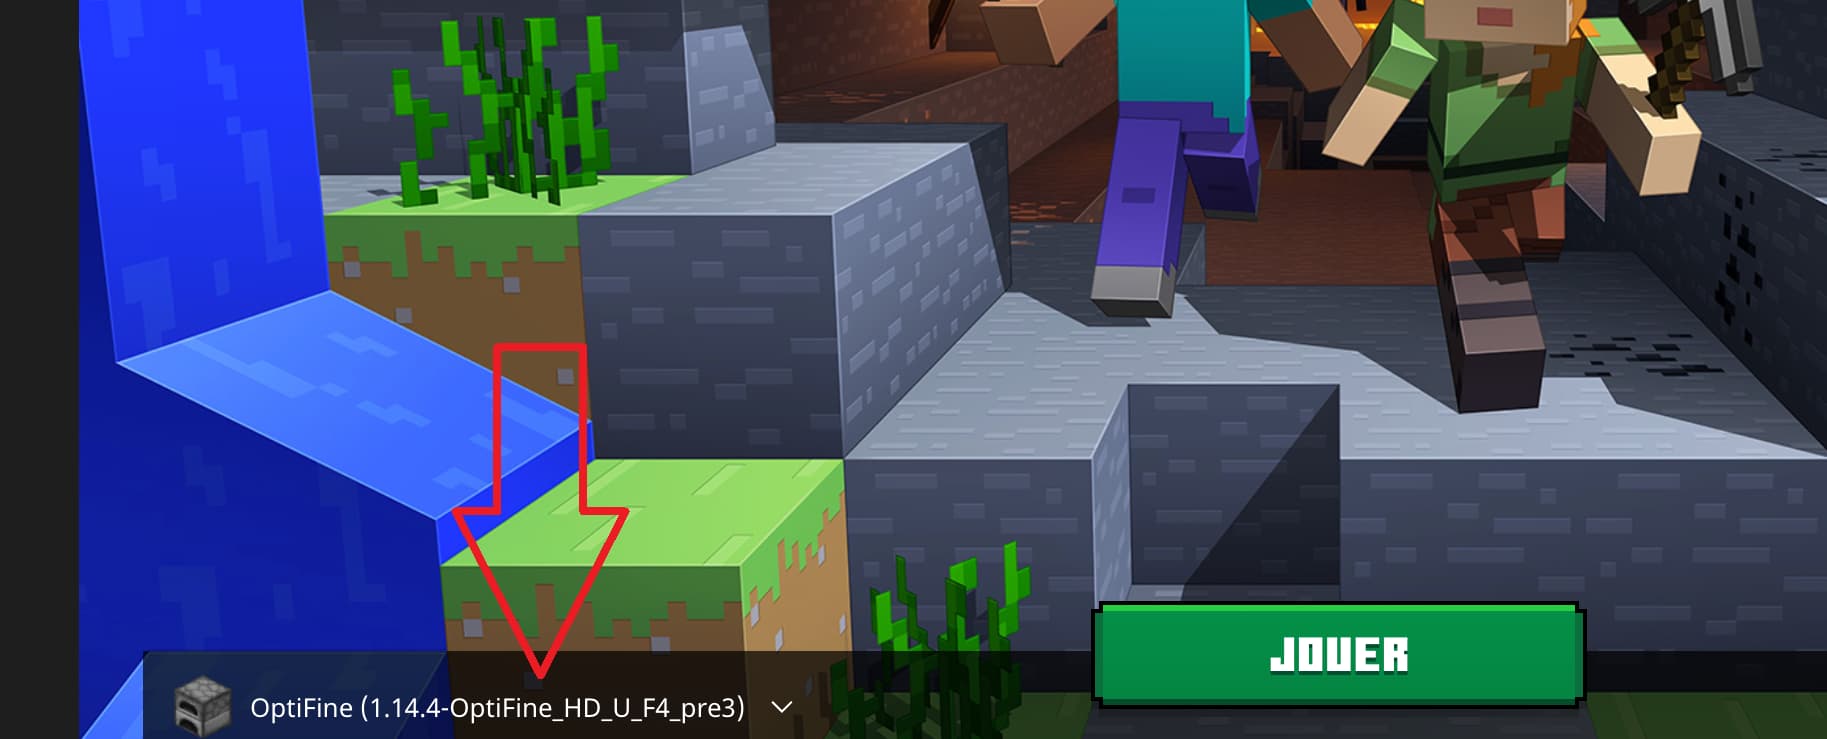
Launch Minecraft with the Optifine profile
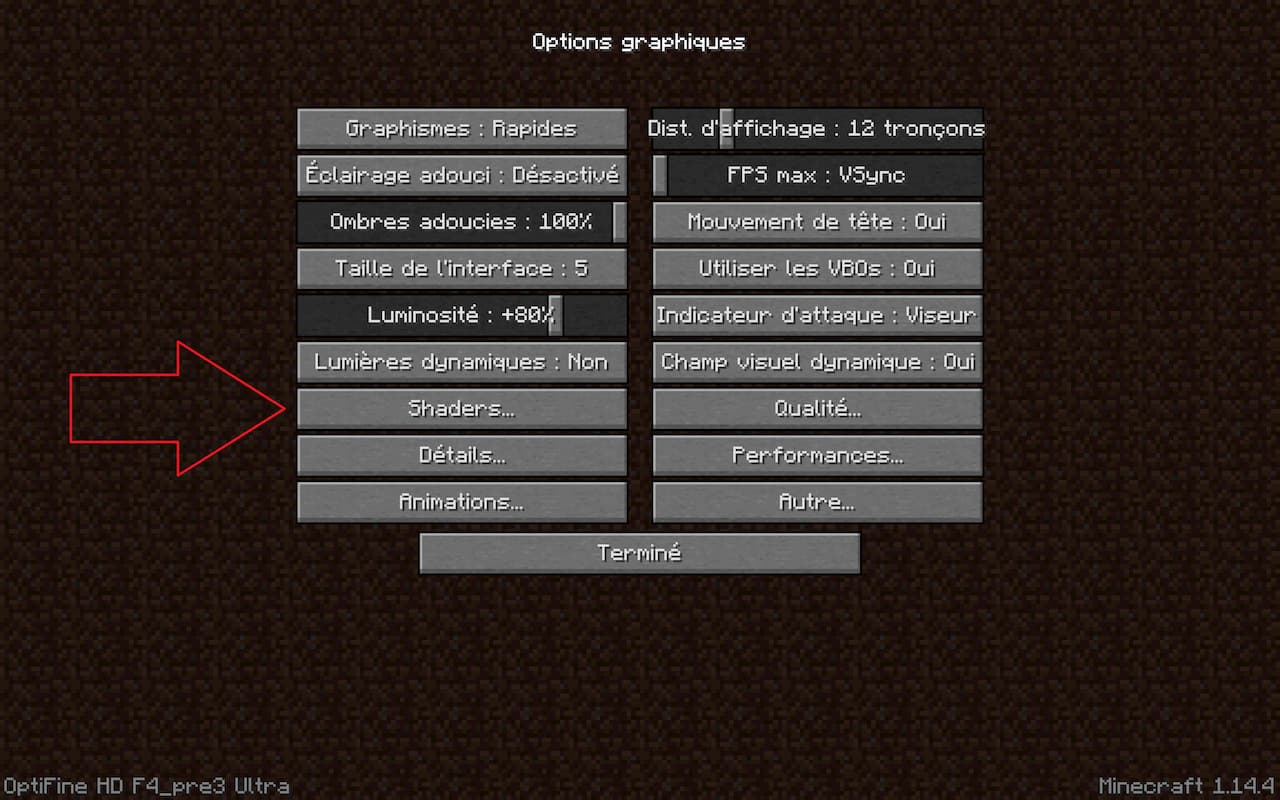
Go to the “video settings” and then to “Shaders”
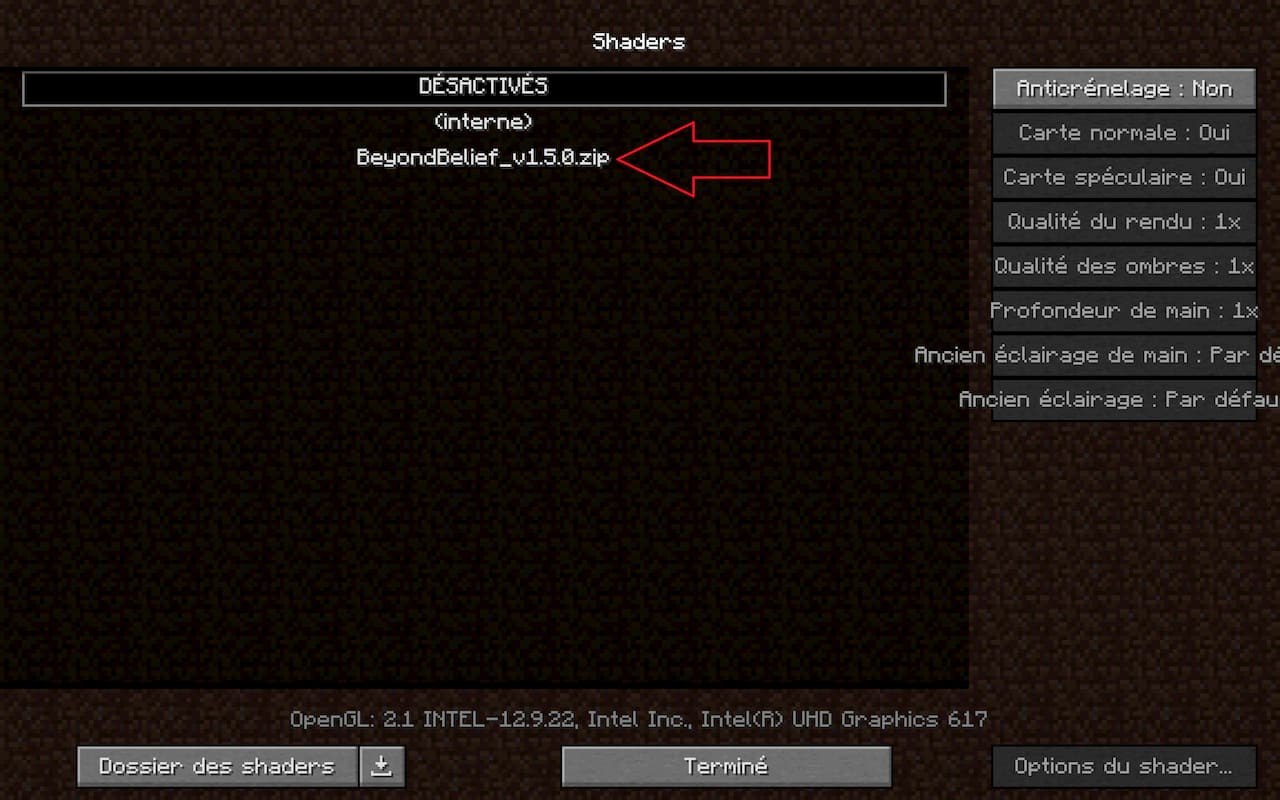
Select in the list the shader pack you want to use
If you have imported several shaders, they will all be in this list.
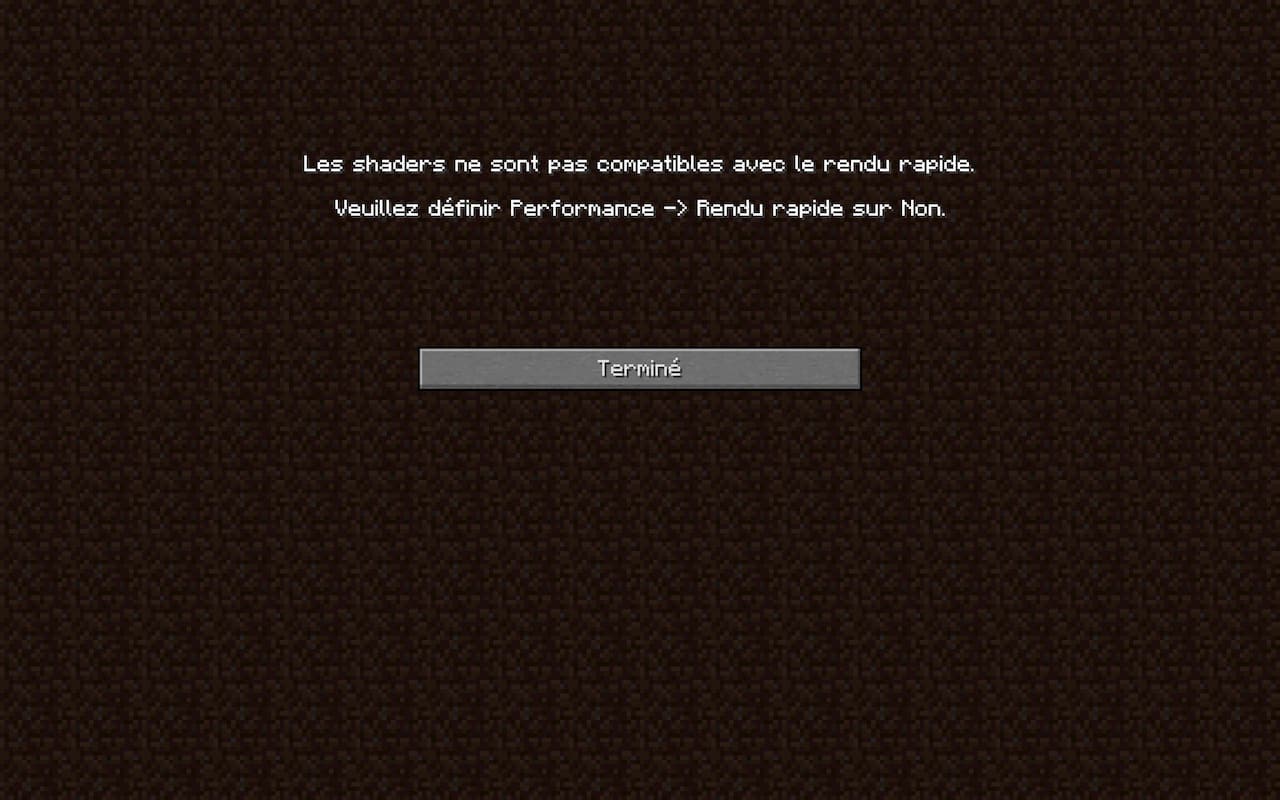
Disable “Fast Rendering” in “Graphics Options” and then “Performance”
A necessary step in order to avoid the error message “Shaders are not compatible with fast rendering”.
